Assembly
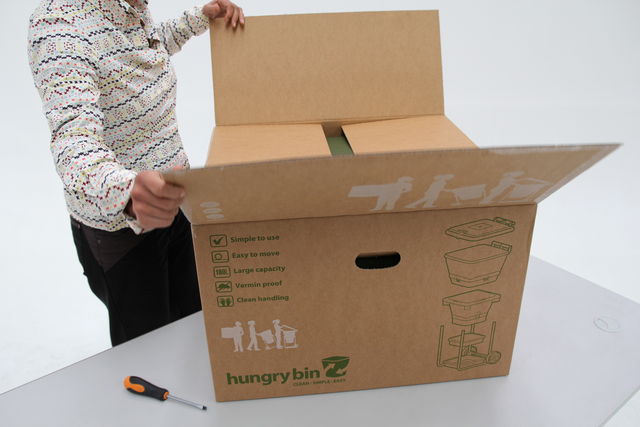
Remove the parts from the box.
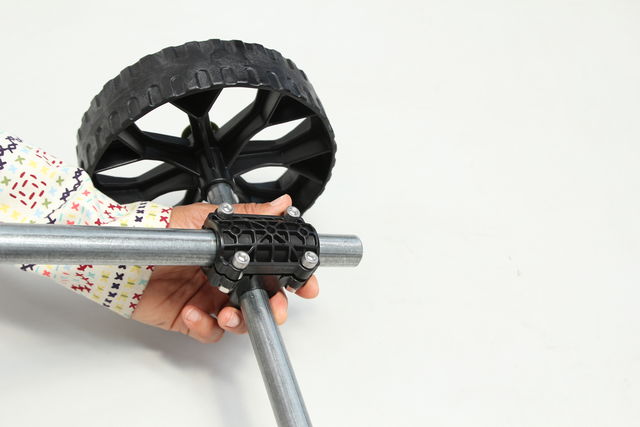
Assemble the frame by sliding each leg through each side of the axle assembly, starting from the bottom end of each clamp. Push each leg through the clamp until the clamp is positioned at the start of the bend in the leg.
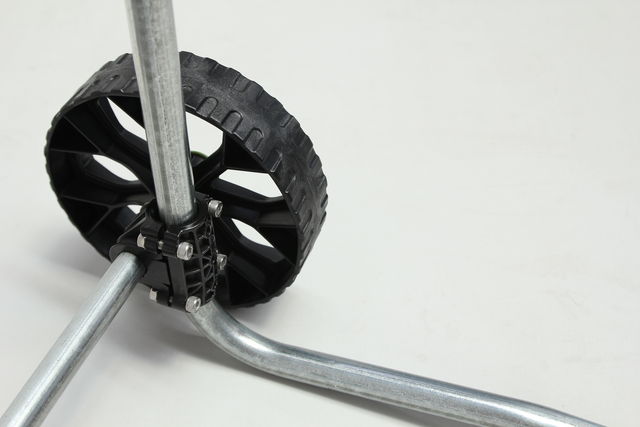
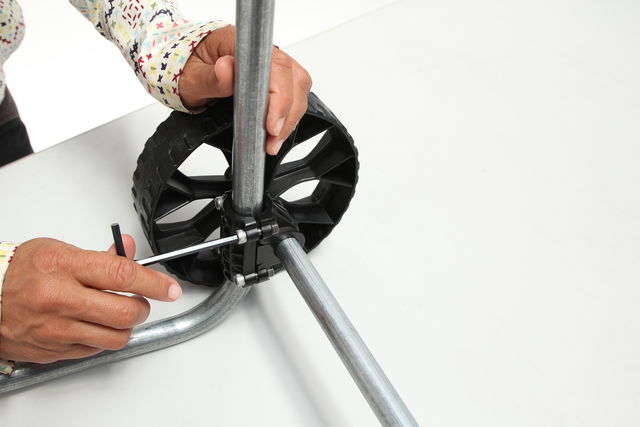
Make sure the wheels are touching the ground when the legs are in an upright position. Using the hex key supplied, evenly tighten the 4 screws on each axle clamp to firmly secure the clamp to the leg. Tighten the screws in stages to ensure the gaps between both sides of the axle clamps are even.
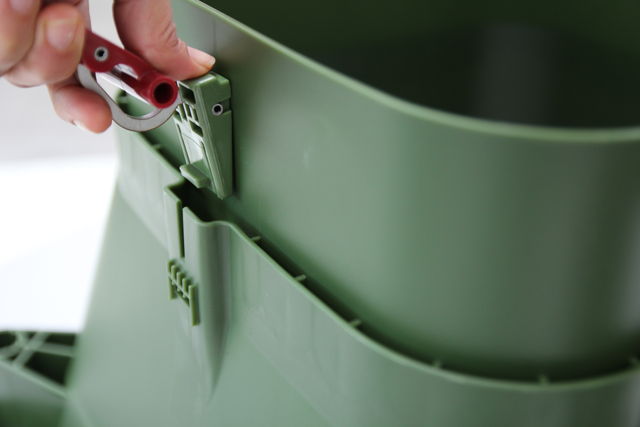
Place the lower body upside down on the ground. Insert the two latches into either side of the skirt of the lower body. The latches require a firm downward push to locate in position. You may find it easier to push the latches down with a screw driver, or gently tap them into place with a hammer.
Ensure the latches have clicked securely into place.
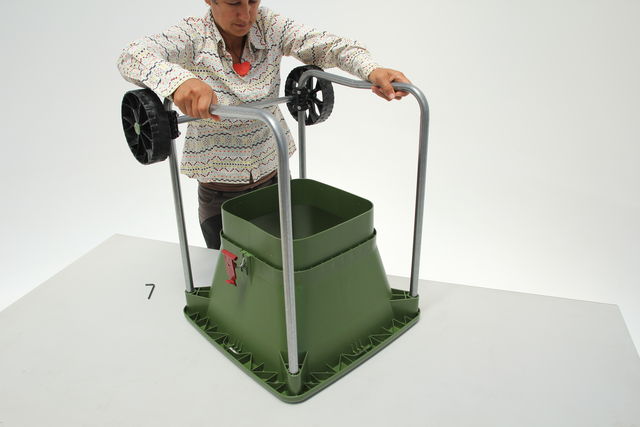
Insert the top of the assembled legs into each of the lower body. Make sure the legs are positioned so that the wheels are on the same side as the latches. Push the legs firmly into the sockets.
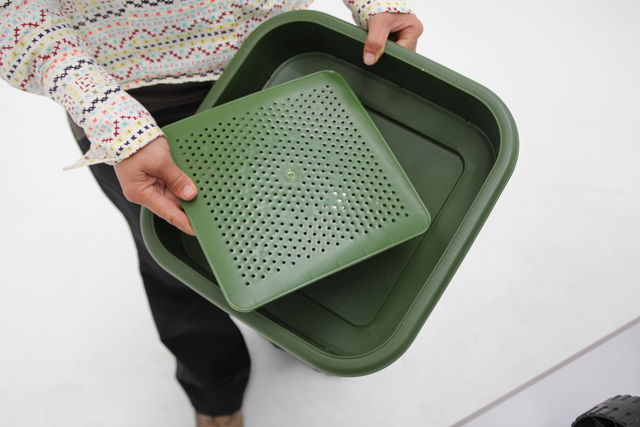
Place the Filter into the bottom of the Floor.
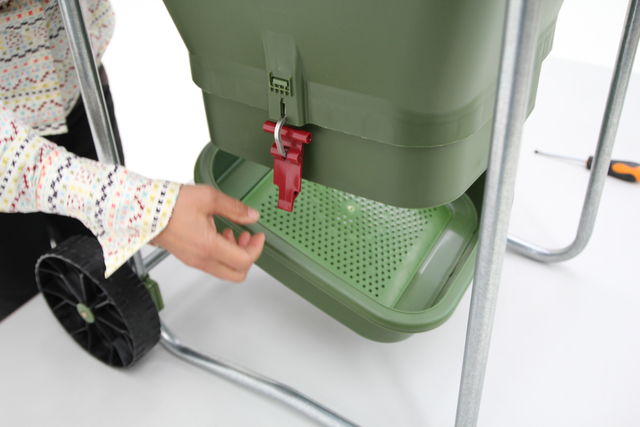
Turn the lower body over to an upright position. Slide the floor with the filter inserted over the lower part of the lower body and lock into place with the latches. Press the centre of the red latch with your thumb to lock the latch into place.
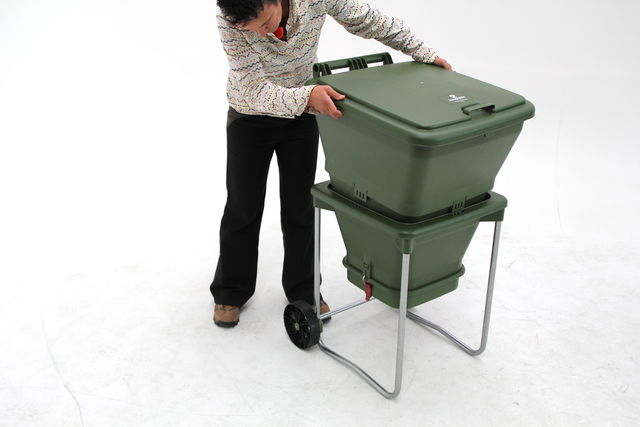
Place the upper body into the lower body.
Make sure the handle is positioned on the same side as the wheels.
Align the bottom of the locking tab at the rear of the upper body with the matching slot on the top of the lower body.
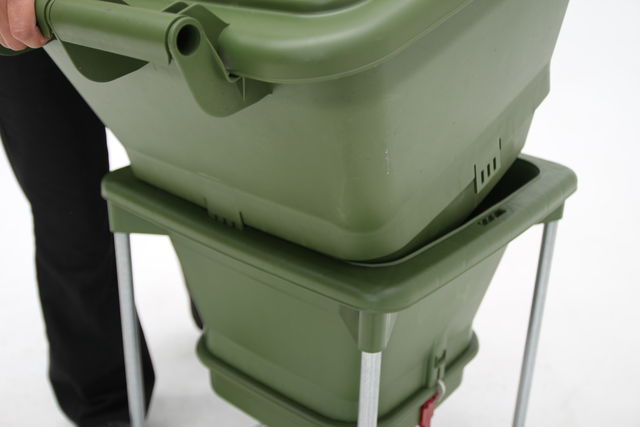
Slide the rear tab into the matching slot in the lower body.
Push the upper body downwards on a slight angle until the bottom of the side tabs is aligned with the lower body slots.
You do not need to push the tab downwards until it locks in place at this point.
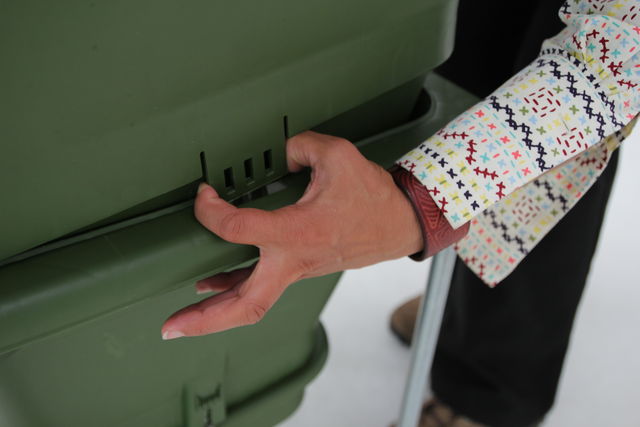
Tilt the upper body down until the bottom of the two side tabs are aligned with the matching slots on the top of the lower body. You may need to pull the tabs outwards so that they line up with the slot.
Once both tabs have aligned with the slots, you can push the upper body down until the bottom of the front tab is aligned with the top of the slot.
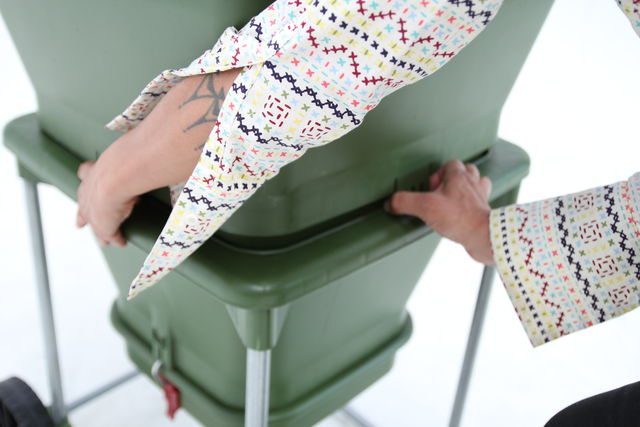
Align the front tab in the same manner as the other tabs and once all the tabs are located.
Push the upper body down until all the tabs have locked over the hooks on the side of the lower body.
You should hear a click as the tabs locate and lock in place on the hooks that are on the side of the lower body.
When completed wheel the hungry bin into position and place the drip tray underneath.

Congratulations, your hungry bin is now assembled and ready to start.

